At a recent boat show I got talking about soundproofing on kayaks. Fishing in the shallows its easy to spook the fish whilst changing lures, digging in the crate for a bit of tackle, or a sandwich, we can at times send a lot of noise down through the hull.
After the show I started to do some investigative work and found a couple of companies that specialise in grip pads/sound proofing for kayaks and one of those was SeaDek who produce a pre-cut kit for the Hobie Revolution 13.
The supplied kit comprises of fivepads, four for the cockpit area and one for the tankwell, our kit was in Storm Grey which compliments our Hobie Projects hull colour.
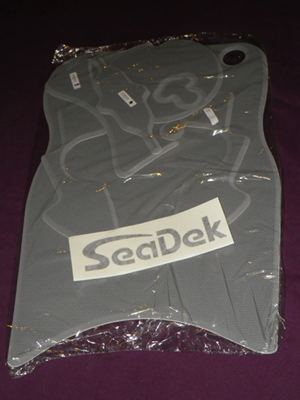
Before fitting its important to ensure that the hull is clean. So first job was to scrub the cockpit and tankwell with warm water and a little washing-up liquid, once happy that all was clean, we prepared the first area to take a soft SeaDek pad, the centre hatch.
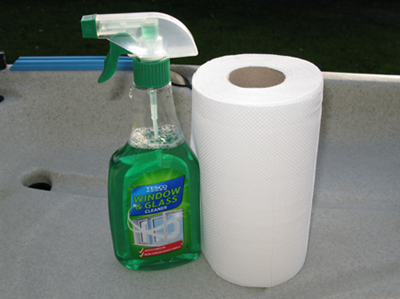
Out with the window cleaner. Why window cleaner, well it doesn't leave any residue or smears, so a good scrub and dry with some kitchen roll was in order, being careful that we didn't leave any lint behind. The hatch took two attempts as it had some small bits of bait stuck in the patterned lid.
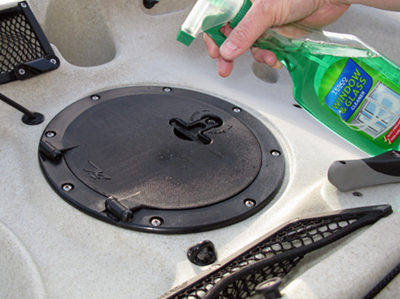
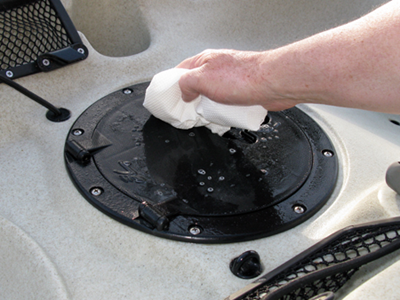
Once clean it was time to check the fit of the first pad and work out the spacing.
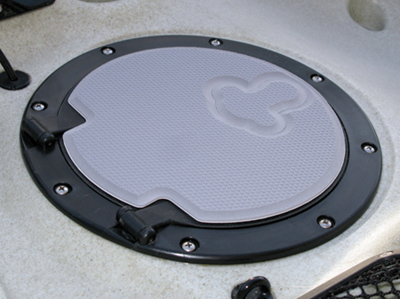
The lid twist lock cut out needed pushing out, no need to cut out as it was only held by the backing paper.
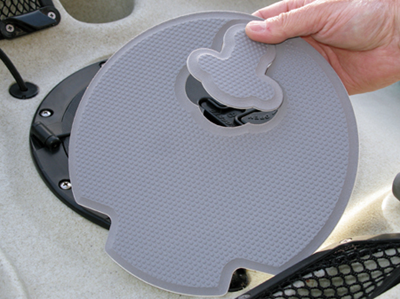
A recheck around the catch before fitting.
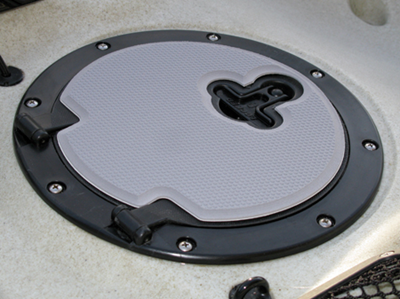
Rather than strip all the backing off we ran a blade lightly through the backing paper, being careful not to cut into the pad.
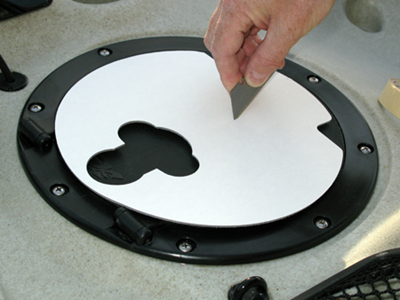
Then peeled back half of one side of the backing from the centre, and folded it flat. We then placed the pad back in position making sure that we didn't allow the adhesive to touch the lid of the hatch.
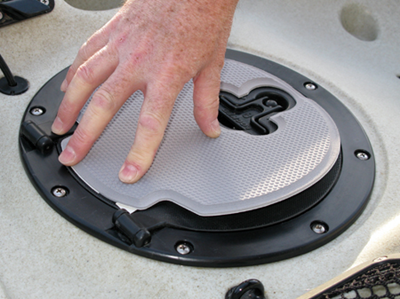
Once we were confident of positioning we pressed along the centre to stick the pad and worked our way to the outer edge, pulling the backing a little as we went until the first half of the backing was removed.
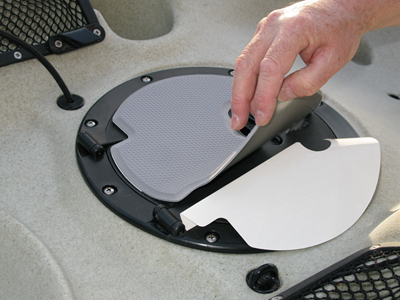
First side stuck down we lifted the other half and removed the backing, holding it before sticking by the edge being careful not to get our fingers on the adhesive.
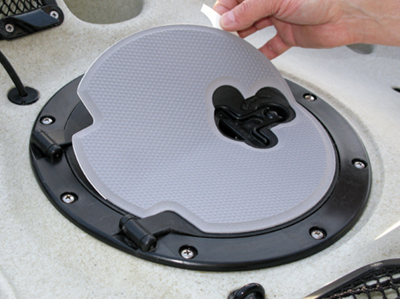
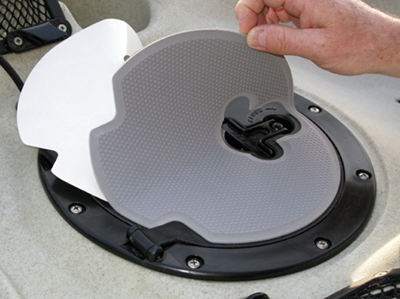
And pressed the pad into position, rubbing firmly from the centre line to the outside as we went.
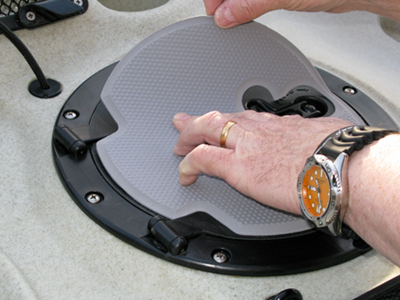
Then we ensured that the whole pad was stuck down including all around the edges.
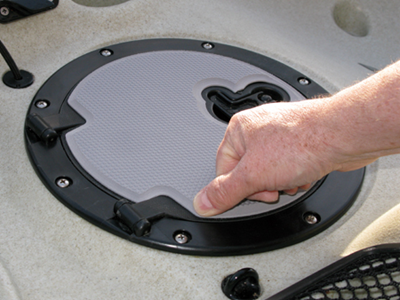
Hatch pad complete and looking good.
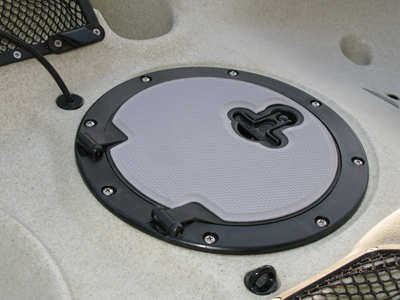
Next pad and an inspection of the surface and a good spray with the window cleaner.
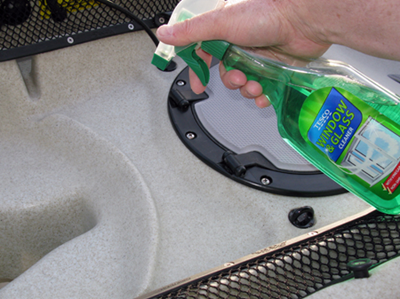
And a wipe over with kitchen roll till dry.
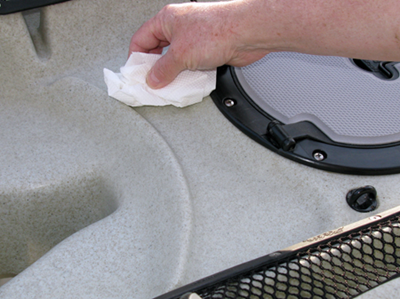
A check for fit and then score through the centre, being careful as this is a very thin section of pad.
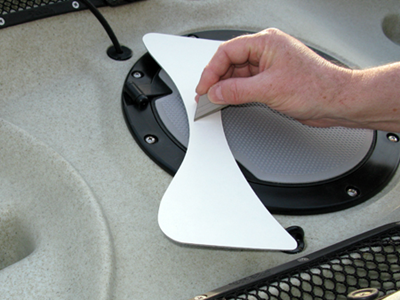
We peeled one half of the backing and folded as before.
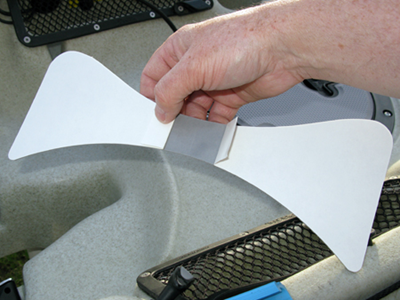
Positioning the pad centrally, we pressed the pad along the exposed adhesive area to fix.
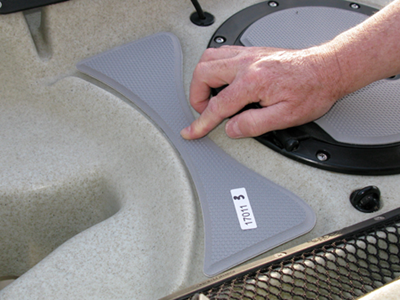
And then rubbed the pad down as we pulled the backing strip away ensuring that the pad remained central and didn't twist out of position.
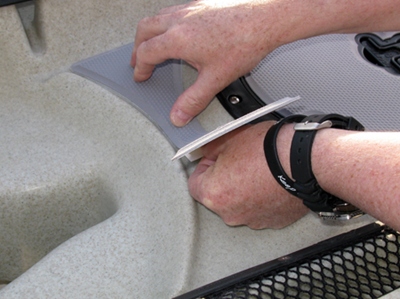
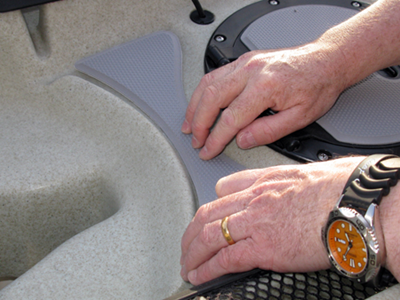
With the first side complete time to fit the other half, ensuring that it sticks in position equally balanced to the other half.
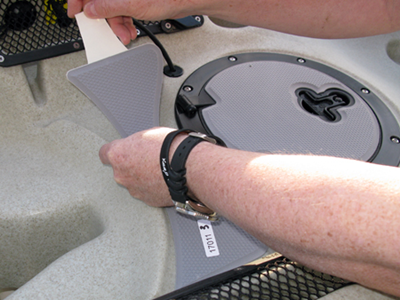
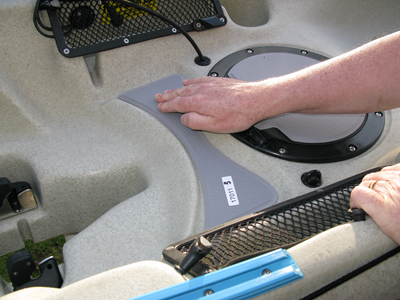
We then ran our thumb around the edges of the pad to ensure good adhesion.
Its worth remembering that you only get one chance with these pads, the adhesive is that strong, you can't peel them up and stick them back down again.
The next pad is a little trickier to align, this fits around the Mirage Drive.
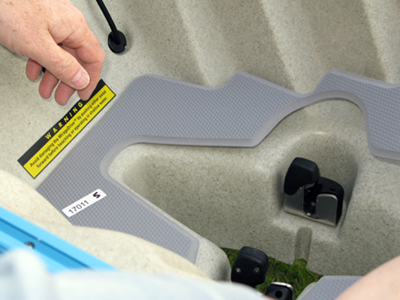
Having given the area a very good clean with the window cleaner and ensuring it was dry, we had a few attempts fiddling with this pad until we were happy with the position.
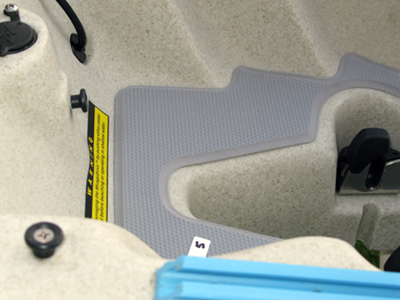
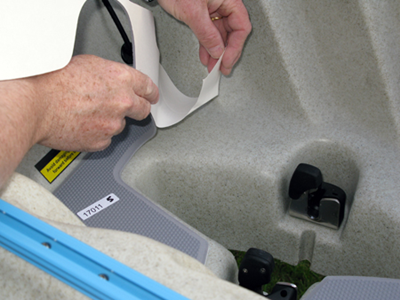
We cut the backing at the front edge in front of the mirage drive slot so we could work on one side at a time.
We peeled the whole side of backing off and held the pad by the edge so not to damage the adhesive.
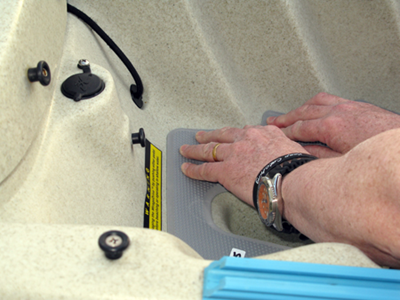
First side stuck in position firmly around all the edges. We peeled the backing off the second half.
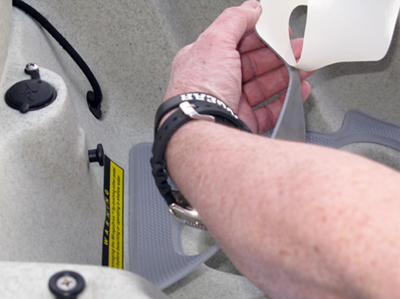
And stuck it down. The cockpit area complete.
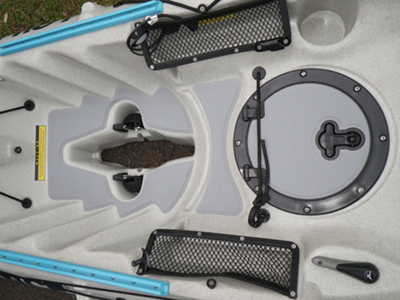
The tankwell was next. We removed the bungee to give better access to the area. Then cleaned thoroughly.
Again we carefully cut the pads backing down through the centre and stuck down each half in turn, we pressed the pad into the recesses as we went, pressing the pad hard into each moulding, this was a little tricky and might have been easier on a warmer day when the foam would have been a little softer and more plyable.
Job done.
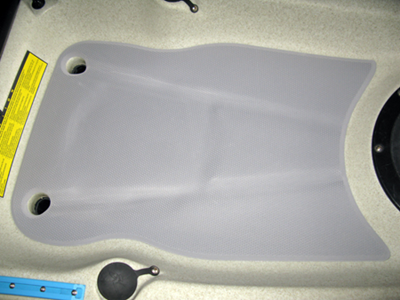
Having looked at a few other installs of SeaDek on other kayaks we noticed that the water channels in the tankwells had been cut out, so decided that we would attempt to do the same with ours, it would have been much easier to have made this decision before fitting and we would suggest doing this if you decide to go down the same route.
We didn't record this stage as it may have gone horribly wrong and we didn't have much time to complete, but this is how we did it.
Firstly we lay a steel rule, which just so happened to be the same width as the water channels in the tankwell, from the scupper holes towards the rear of the tankwell. Once happy we were central on the channels we ran a scalpel blade down each side of the ruler, cutting right through the SeaDek pad. This was repeated on both channels.
We removed the strip of pad from above the channel on both sides.
We then drew a line approximately 5mm parallel along each cut edge, we used a fine permanent marker as it would be easy to see.
Then it was out with the Dremmel and a small stone ball shaped grinder. With the Dremmel set on a high speed setting we ran this carefull along each edge, keeping the stone at a level depth and running close to the black line we had drawn, this gave us a close match to the shape of the bevel edge around the outside of the pad. This wasn't very easy with the pad in place, so be careful.
Once we were happy with the shape, we just ran our thumb along the edge to remove any loose foam, a light sanding with some sand paper will smooth any bumps.
Remember to push down along the edges of the cuts just to ensure everything is stuck down well.
And the finished product.
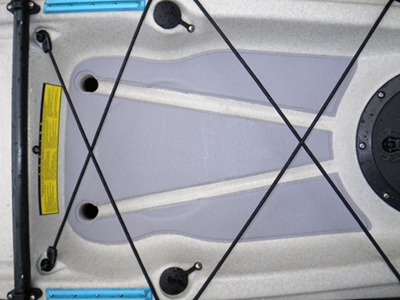
The SeaDek looks very good and we are very happy with our newly pimped project.
Our first fishing trip and we did notice a difference, especially when dropping leads onto the deck in front of us when changing baits, there was no banging through the hull.
It was a messy trip using ragworm and squid baits which always leaves a mess in the cockpit. A quick washdown when back at base and all looks as good as new.
If you want to know more about SeaDek products or would like to order SeaDek pads for your Hobie visit SeaDek.com
