Fitting Hobie Sidekicks
If you are thinking of fitting a sail kit to your Hobie or just like the idea of the extra stability given by fitting a set of Hobie Sidekicks, you'll be pleased to know that to install them is both quick and relatively easy to do.
As the main fixing bar is a permanent feature you need to ensure that its both clear of any thing you might wish to fit in the tankwell and it doesn't interfer with your seat back and ultimately your comfort.
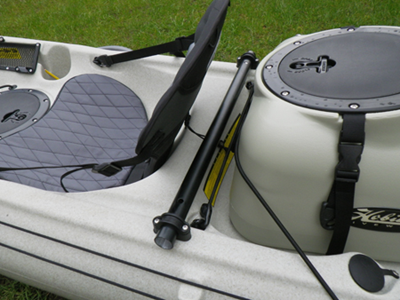
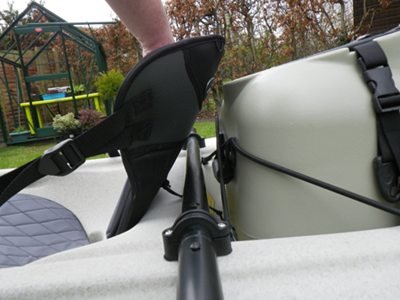
The fitted sidekicker bar showing the importants of getting the position right, we also took into account that we fit the trolley and wheels behind the seat.
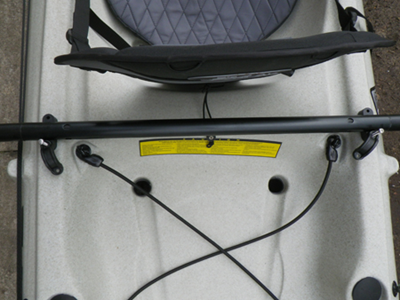
We positioned our bar above the rear of the cockpit and just infront of the tankwell.
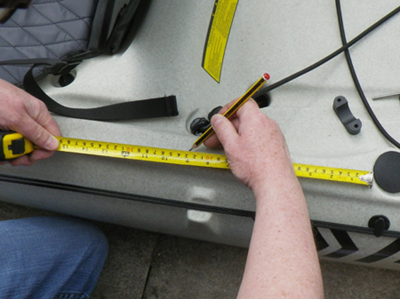
Once we had an idea of where we wanted it, we used the rear flush mounts as our reference point and measured from them to ensure we got the fittings square across the kayak.
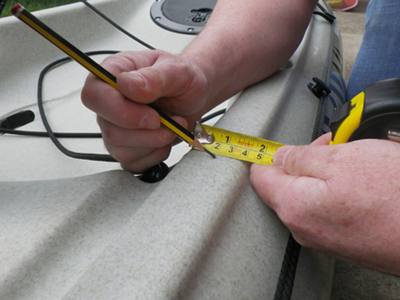
We then marked the centre of the gunwale.
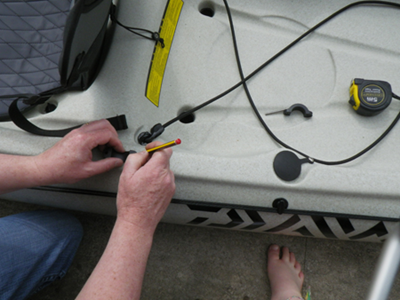
Double checked the base bar fittings position and marked the spot to drill.
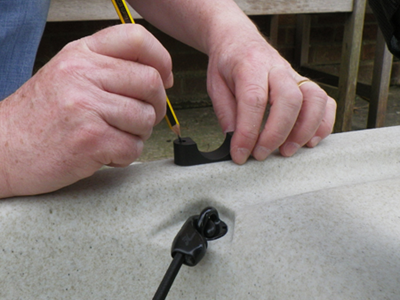
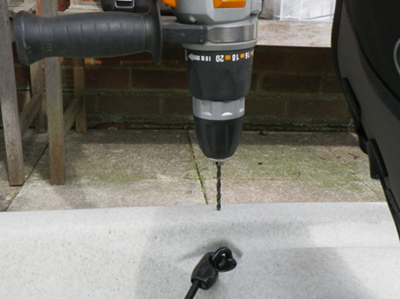
Using a drill bit the same size as the fixing bolts we drilled the first holes on both sides of the kayak. One hole each side.
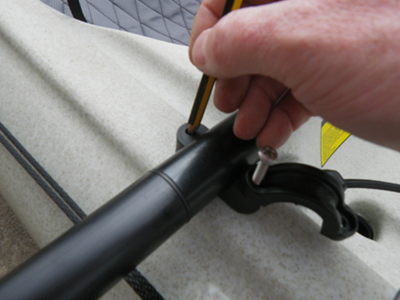
We then fitted the first bolts into the holes and placed the sidekicker bar across the kayak in position, this helped with the alignment for marking the second hole.
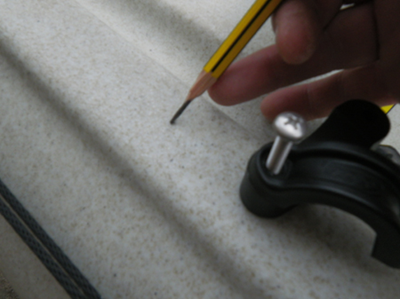
Bar removed and second hole marked ...
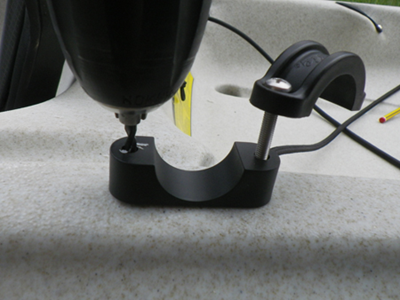
... and drilled, the hole started with the base held in place to ensure alignment.
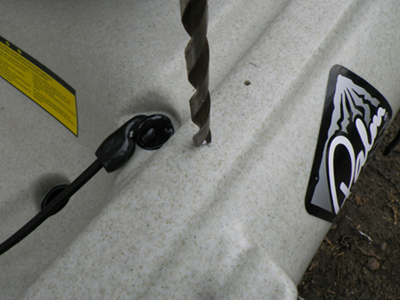
The brackets and bar were then removed and using the pilot holes alread drilled we used a larger drill bit to accommodate the well nuts used to secure the sidekick bar brackets.
A little silicone sealant adhesive was smeared onto the well nuts before fitting to ensure a water tight fit.
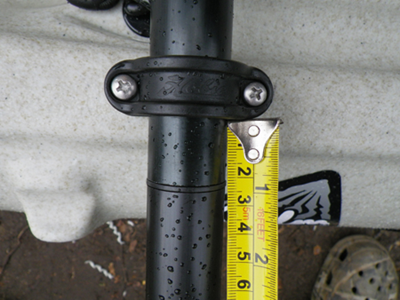
The sidekicker bar was then centralised by taking a measurements from both sides until equal. The bolts were then tightened down.
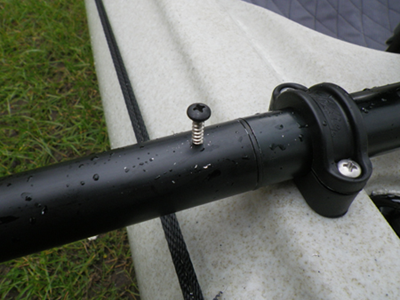
The sidekick bar extensions have a plastic insert with lock pin which allow the sidekicks to sit at 3 predetermined heights depending on preference, we had heard on some forum's that the bars can slip as the plastic insert is not held in place. A hole was drilled through the aluminium tubing into the plastic insert and a self-taping screw was used to secure and ensure there is no future slippage.
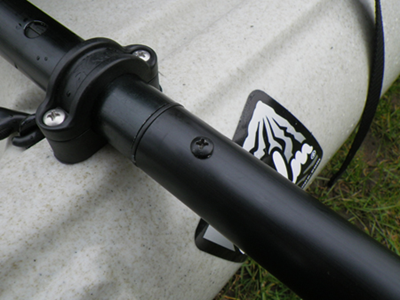
We even managed to find a black headed screw to give a neat finish. Both sides were treated the same.
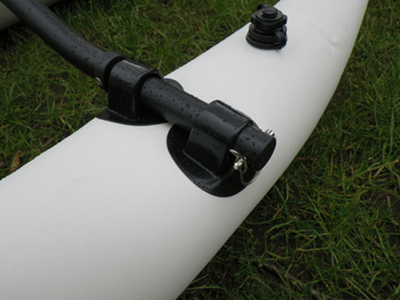
We then inflated the sidekicks, they only take 4-5 large breaths to fill. They were then slipped over the bars and the security clip fitted.
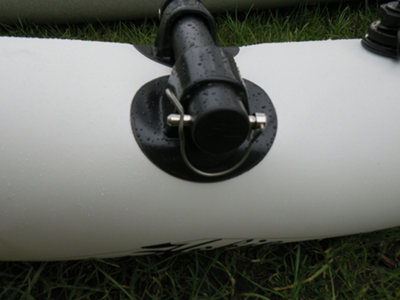
Take care with the clips, I've been advised that they are easily lost when removing the sidekicks from the bar. You've been warned.
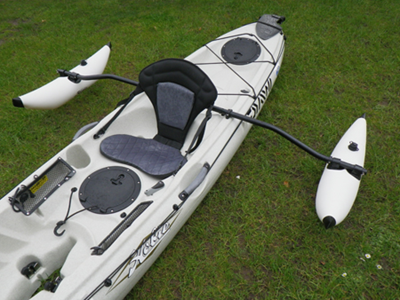
Job done. Photo shows the sidekicks in their lowest position which on the water would mean they were touching the water at all times.
The nice thing with the Hobie Sidekicks is that they can rotate on the bars, they are not going to dig in at sea, they will happily ride the swell and waves.
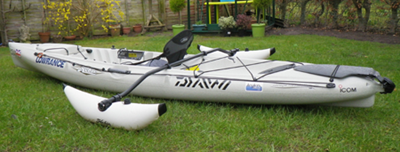
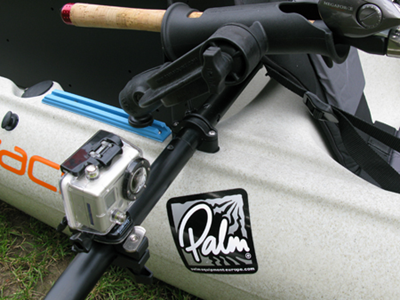
Since fitting the Sidekicks we have added a GoPro mount to one of them, this will give us another video angle when sailing and fishing, can't wait to give this a try.
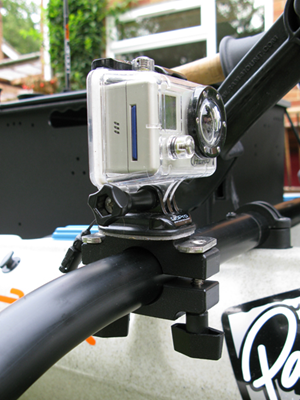
Pretty neat!
