Fitting a Richie Kayaker S-59 Compass
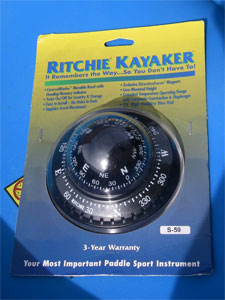
Ritchie Kayaker S-59 Compass.
Placement and fitting a compass to your kayak should be high on your list of priorities when kitting out of your kayak. Placement is all important, your compass needs to be easily and accurately read should things take a turn for the worse, sudden fog, GPS battery dead, leaving you disorientated and in danger should you not have a compass and the ability to use it.
As we have a Finder/GPS system on our Trident Project we wanted a compass that would be unobtrusive and fly line friendly, we chose the Richie Kayaker S-59, a surface mount compass which has been designed with the kayaker in mind.
One of the functions we particularly like with the S-59 is it's moveable bezel described as a heading memory indicator, twist it your desired heading and manoeuvre the kayak until the compass aligns with the needle and matches the bezel heading, very simple and effective system.
We decided to fit the S-59 behind the Sonar Shield on the flat deck area, the only time we would need the compass was when the Finder/GPS was not functioning and the Sonar Shield lowered, and with such large clear digits the distance away from the paddler is not an issue.
First job was to ensure that the compass in its chosen position would not deviate when the Finder/GPS and battery were connected up and turned on, a huge relief when the compass reading did not deviate.
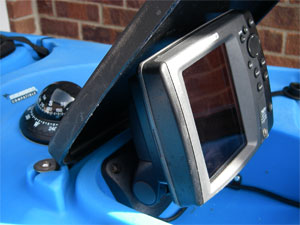
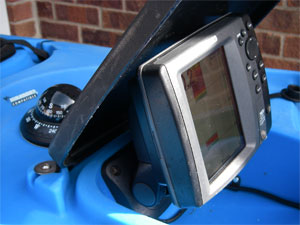
Testing for deviation with Finder/GPS off and on with battery placed in normal position.
So that we fitted the compass centrally and in near perfect alignment allowing for the most accurate compass bearing we tied a length of shock leader from the drain plug to the rudder, ensuring it was tight.
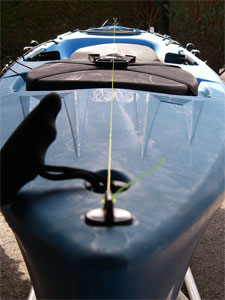
Green shock leader as central guide.
The S-59 is supplied with a paper template, this was slid under our shock leader and the central line on the template aligned perfectly, fixing in position with masking tape.
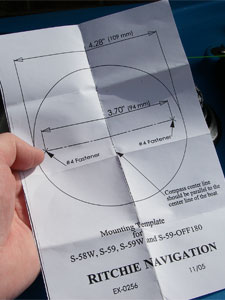
Paper template.
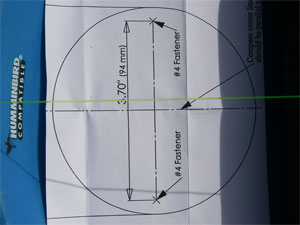
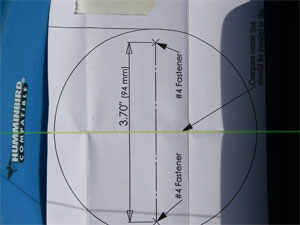
Aligning paper template before fixing with masking tape.
Two mounting holes were then drilled through the paper template in the marked positions. We chose to fix the S-59 compass permanently, one less thing to remember when were in a hurry to launch, so drilled holes to accommodate our M4 x 12mm Pan Head bolts, alternatively screws can be used to allow the compass to be twist locked into position and easily removed.
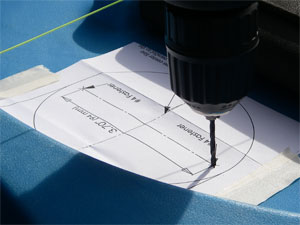
Drilling the fixing holes using the paper template as a guide.
To mount the compass the CourseMinder Bezel needs to be removed, easily done by sliding our finger nails under the bezel and pulling, this reveals the two screw/bolt holes.
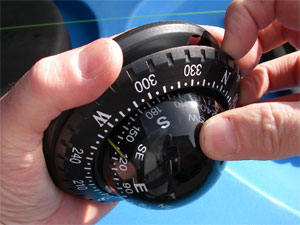
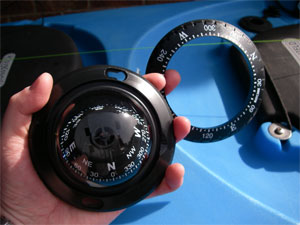
Removing the CourseMinder Bezel.
Before bolting to the deck the foam gasket has to be fitted, the two fixing holes have to be pushed out from the gasket before peeling off the backing tape and fitting directly to the base of the compass, ensuring that the holes align perfectly with those in the compass base.
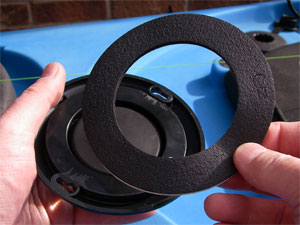
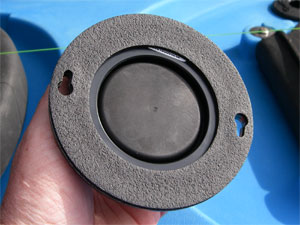
Gasket prior to pushing out fixing holes and gasket fitted with holes aligned.
We placed the compass in position with the yellow needle facing the stern. The M4 Pan Head bolts were then fitted, the compass twisted to lock before tightening. Do not worry if the compass spins a little when using the screwdriver as the screwdriver may be magnetic, many are.
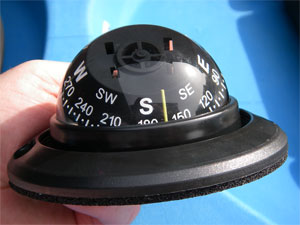
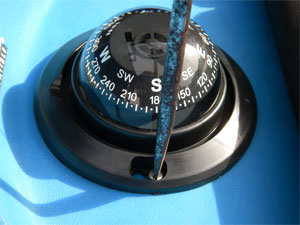
The yellow needle and tightening the bolts.
Finally the CourseMinder Bezel was clipped back into position.
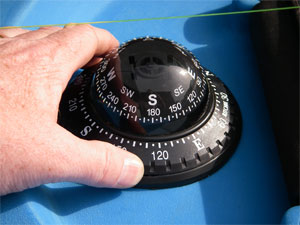
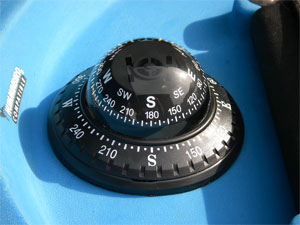
Pushing the CourseMinder Bezel into position, the finished product.
Disclaimer:
Installing hardware may cause damage and/or void manufacturer warranties.
The information we provide is a free reference guide only. The author of this information, sponsors and the owners of the website that host this information are not liable for any problems or issues that arise from the use of this information. Users of this information hereby acknowledge that all use of this information is done by their own free will, at their own sole risk, understanding that injury or death could occur.
