Screw hole repair
We had decided quite early on in the project to crack on and have a working kayak even though we were waiting for some parts to arrive from the USA. One of the items we needed to have running was the Lowrance 4x DSI finder.
We had hoped to use the same holes to fit the YakAttack rails when they arrived, but having used the finder in anger we wanted it a little nearer to us on the gunwale to allow easy adjustment whilst on the move.
So with the YakAttack GTSL90's waiting to be fitted we had to first repair the two bolt holes on the gunwale.
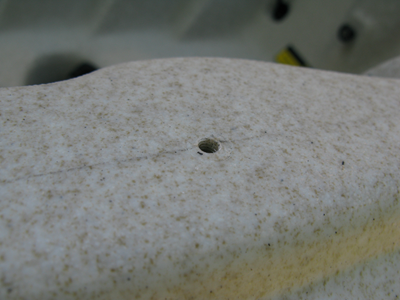
You can use a golf tee for this, but we had some polyethylene welding repair rods so chose to use these to make the repair waterproof, we didn't have a colour match but the repair will be hidden under the rail so no problem.
First thing was to flatten one end of the rod with the soldering iron so that it won't pull through the hole.
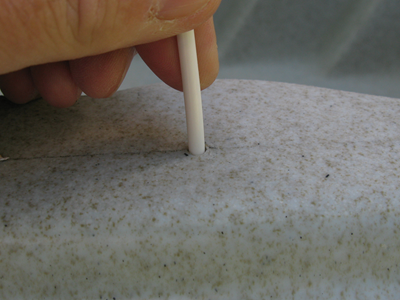
We then pushed the rod up through the offending screw hole.
With a clean hot soldering iron we melted into the rod pushing the rod over and keeping a good tension on it as we went.
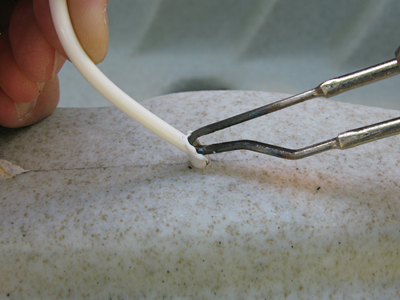
This was to stop the rod dropping back down through the hole.
We then slowly dabbed the melted rod into the gunwale, smoothing as we went, spreading the rod a little around the top of the hole, being careful not to make any pitted holes in the kayak.
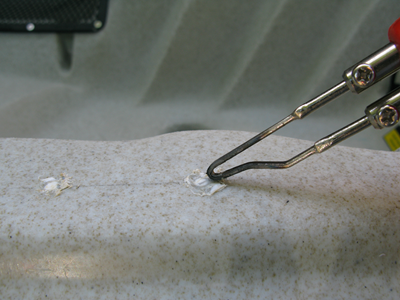
At this stage it still needs a little tidying, so we took a sharp Stanley knife blade and pushed it through the repair keeping it level with the top of the gunwale.
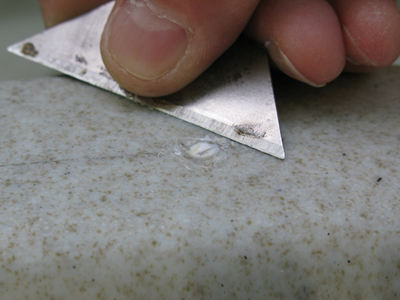
A light sanding and the repair was flush with the gunwale and watertight.
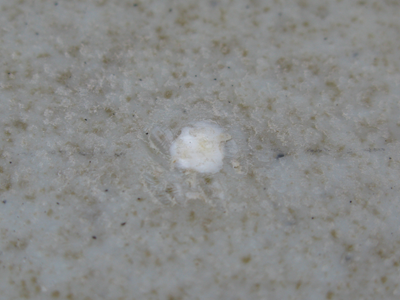
Obvisously if the repair was on view we would have spent a little more time on the finishing, but this was perfect for our needs.
