Fitting YakAttack's GTSL90 with Rigging Bullets
Anyone who has fitted out a kayak will know about cuts and bruises around the arms whilst trying to get to fit nuts and washers to bolts in tight and unexcessible areas on the kayak, even some accessible areas can be tricky.
The area on the gunwales that I had earmarked to place a pair of 8 inch GTSL90 rails had no access nearby, it also had blocks of flotation foam placed directly below the area making it impossible to gain access using traditional methods of sockets on extended bars, there was just no room.
Now Luther Cipher of YakAttack had come up with a very clever device which when combined with their Full Back would allow fitting without any need for access directly below the area of fitting. To good to be true, we hoped not.
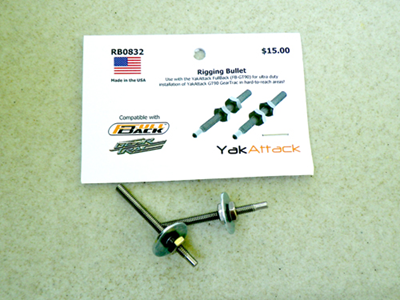
The Rigging Bullet is simply a threaded tube, so simple its genius.
So on with the task in hand.
Firstly we positioned the 8 inch GTSL90 rail and marked each hole. It was important to ensure that we weren't to close to the rod tube recess which sloped down below the rail.
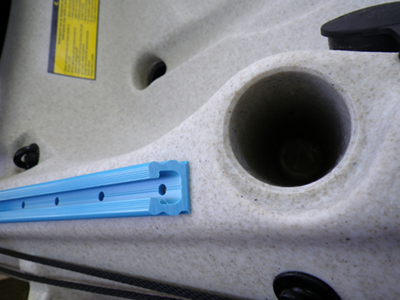
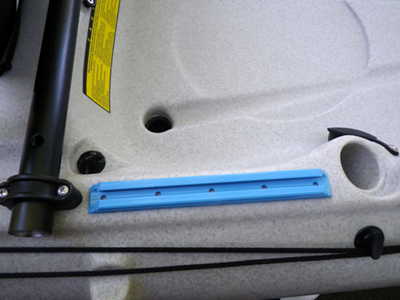
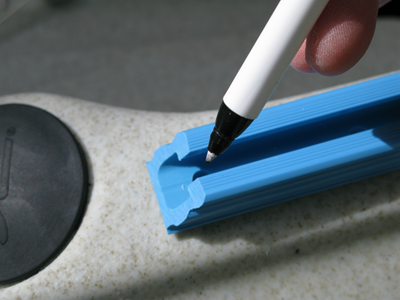
We then drilled each hole, using a 6mm drill bit, dropping in the bolt to hold the rail and drilling through the hole in the rail to ensure that all five holes were aligned correctly.
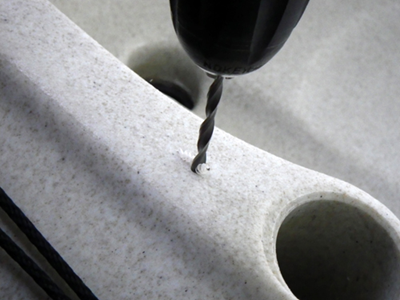
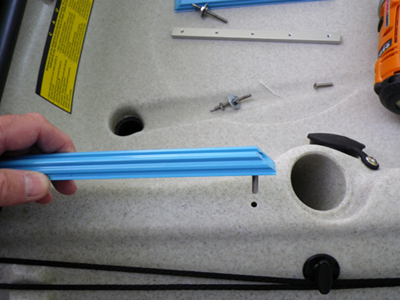
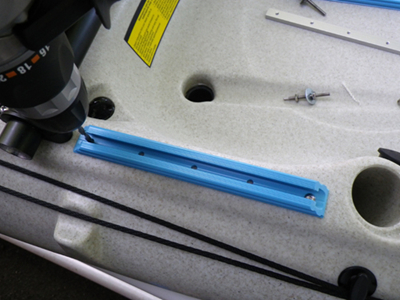
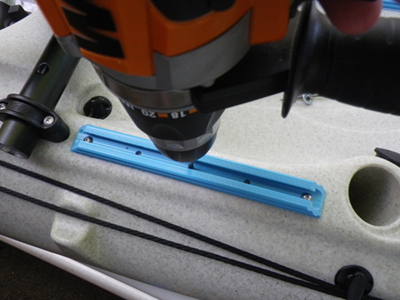
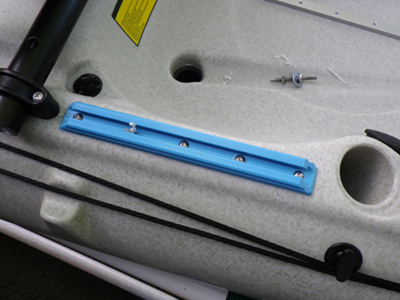
We then removed the bolts and rail.
Then it was out with the Rigging Bullets. Threading a piece of string through each of the rigging bullets and tying a knot at the end of the string so that the Rigging Bullet won't slip off and tied a nut on the other end of the string so that the string couldn't pull through the hole.
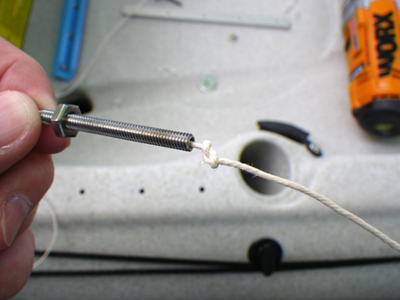
The Rigging Bullets were then slipped through the first and last drilled holes so that they dropped into the hull.
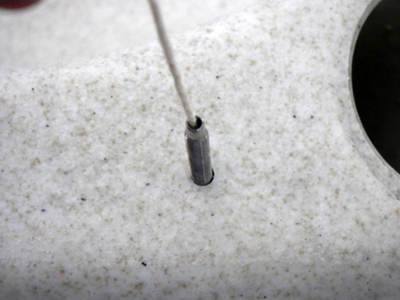
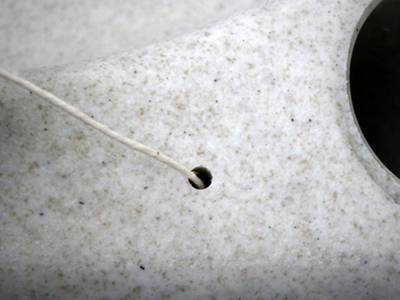
Then by lifting the hull from the bow I shook the rigging bullets down toward the rear hatch. A piece of bent wire was then used to grab the string and pull to the hatch.
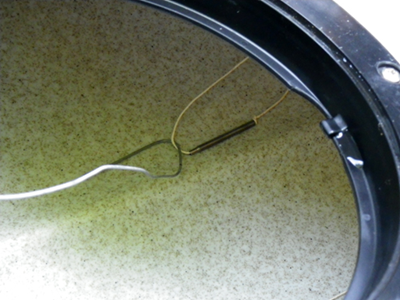
The first piece of string is then threaded through the Full Back in the first hole and the Rigging Bullet screwed into the threaded hole.
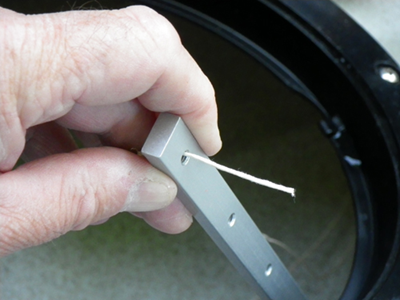
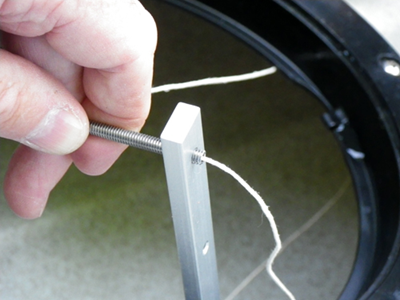
The second piece of string and rigging bullet is screwed into the other end of the Full Back as shown in the image below.
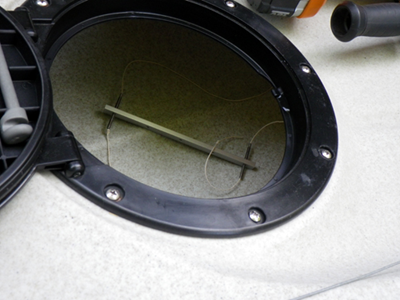
I then used a mirror to check the string wasn't twisted or wrapped around any of the internal cables, if this is the case just undo one of the rigging bullets and untwist.
Taking hold of both ends of the external string pull gently, I pulled the piece furthest from the hatch first just to get the full back around the right way.
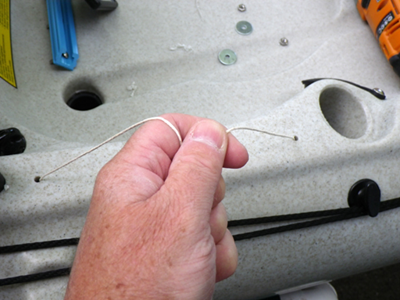
The Rigging Bullets will then appear through the holes and mine just pulled into position, simple as that.
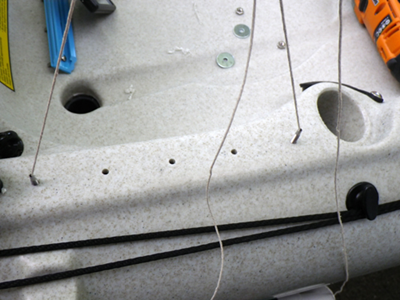
I popped a nut over one end just to hold the whole thing in place whilst I threaded the GTSL90 onto the string at the other end and lowered the track into place, removing the nut as the track was close to fitting.
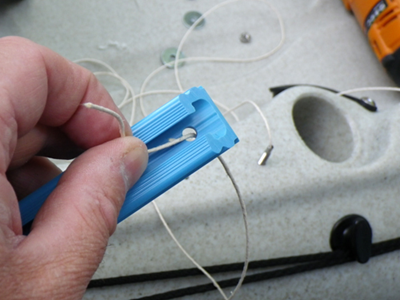
I then popped a nut on one end finger tight to hold everything in position.
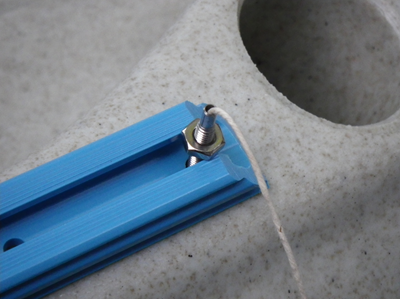
Adding a little silicon adhesive to each allen bolt before fitting.
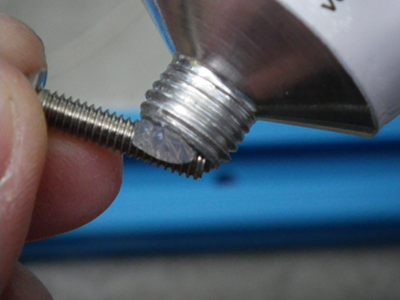
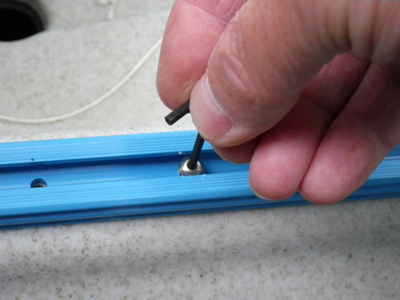
To remove the Rigging Bullets from each end of the track I had to fit three nuts and then...
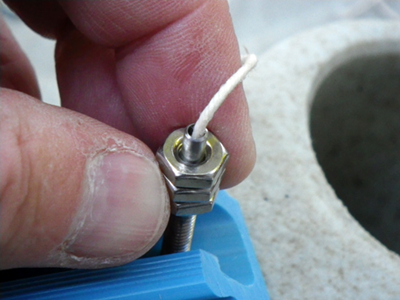
...unscrew with a spanner fitted to the bottom nut.
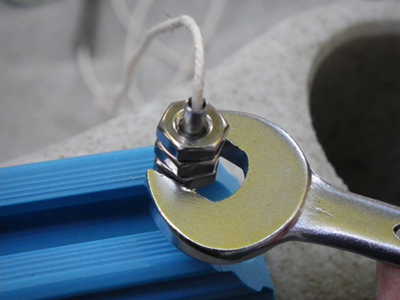
After fitting the last two allen bolts it was time to do the same on the other side using the same method.
The second side took less than 10 minutes from start to finish, faster than I've ever fitted anything that required bolting to the kayak before. Rigging Bullets make this process so quick and easy, they are GENIUS.
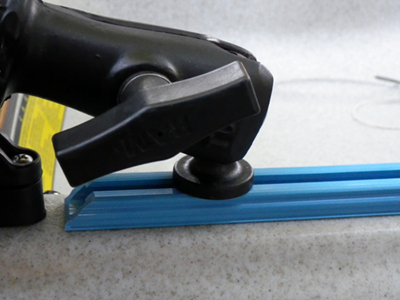
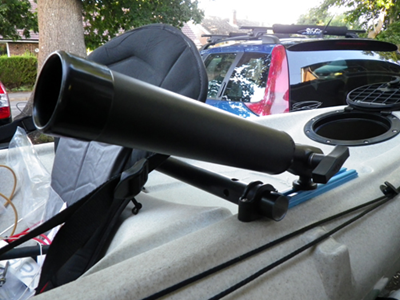
The rails in this position are perfect for a pair of Zooka or RAM 119 Tubes for trolling or when bait fishing and you want the rods position next to you whilst watching the rod tips.
