Fitting YakAttack's GTSL90 Track System
Fitting out the Hobie Revolution 13 throws up a few technical issues, with the excellent Mirage Drive taking up the area that most fishing kayaks have a centre console, fitting a fish finder and the like requires a rethink.
YakAttacks Trac systems is an ideal solution, not only allowing you to swap and change the kit you want to mount, it also allows you to change the position of things like the fish finder without having to refit.
When we first thought about fitting a track YakAttack announced the arrival of a new plastic rail the GTSL90 which was going to be available in a range of colours and sizes, the perfect fitting for any tackle tart.
YakAttack owner Luther Cifer wasn't happy with the first products off the production line, so spent a further four months ensuring the product was fit for purpose, it was a long wait, but we finally got our hands on the new GTSL90 in our chosen colour blue.
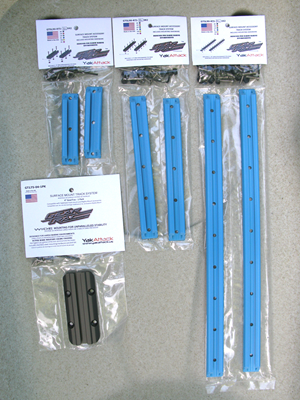
YakAttack GTSL90 in 4", 8" and 16" alongside the wider aluminum GT175 GearTrac
The great thing with the YakAttack Gear Tracs is that they are available with all the fittings to fix to your kayak, Allen Bolts, Loc Nuts, Washers and an Allen Key. All that you have to provide is a 5.5mm or 6mm drill bit, I say either if I was using the Loc Nuts I would use a 5.5mm drill bit, but as we had decided to use the YakAttack Full Back fixing plate we needed a little more flexibility so went with a 6mm drill bit.
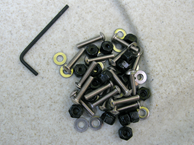
All the fittings supplied with the 16" YakAttack GTSL90.
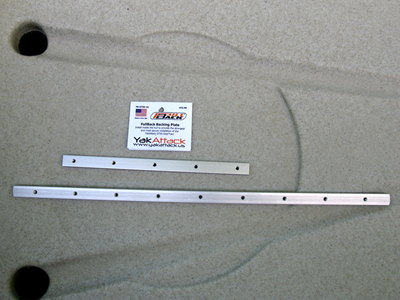
YakAttack Full Back 8" and 16".
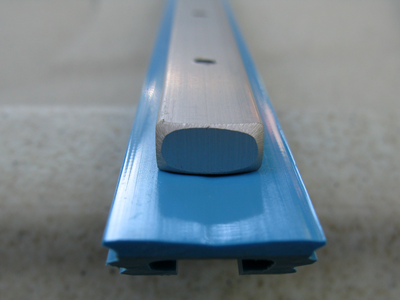
YakAttack Full Back is narrower than the GTSL90 giving a bit more flexibility when fitting in a tight spot.
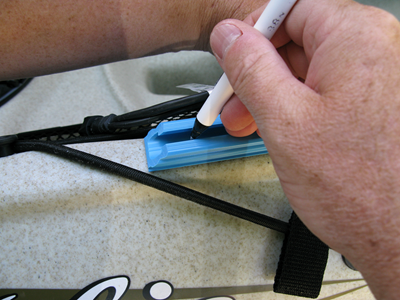
First task in fitting the YakAttack GTSL90 was to decide where. We had been running a Fish Finder on the kayak for some time and knew that it needed to come a little closer to allow easier viewing and control of the unit whilst on the move, so we brought it as close to the seat as possible whilst retaining the use of the paddle keep.
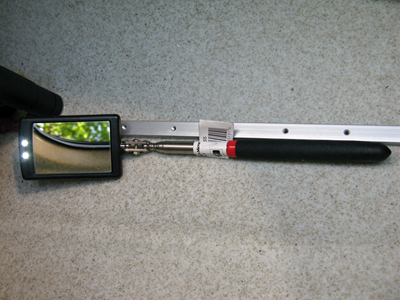
We then checked inside the hull with a Ronson Inspection Mirror to ensure that we were not going to drill into any cables or have any problems getting the Full Back into position around any internal mouldings. The one we used had a couple of LED's which lit the hull inside for a clearer view. If you don't have one of these, you can try and take pictures with a flash and review them on the camera.
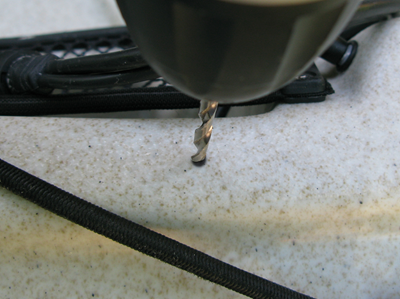
With nothing in the way we drilled our first hole with the 6mm drill bit...
...and dropped in an Allen Bolt to hold the Gear Trac in place.
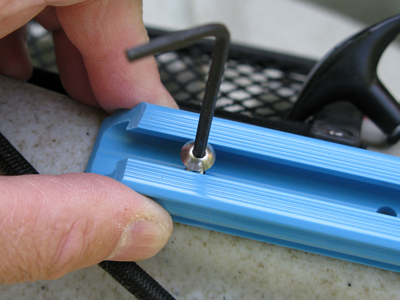
Then we positioned the far end of the track and drilled the second hole, using the track as our guide, dropping in an another Allen Bolt once complete.
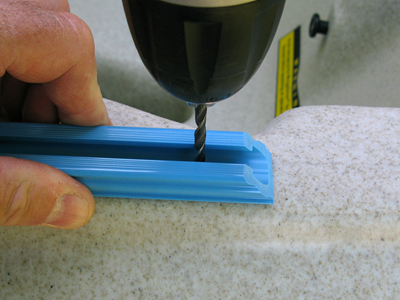
We continued to drill each hole in turn, dropping in a bolt in each hole as we went until all the holes were drilled, then we removed the track and bolts.
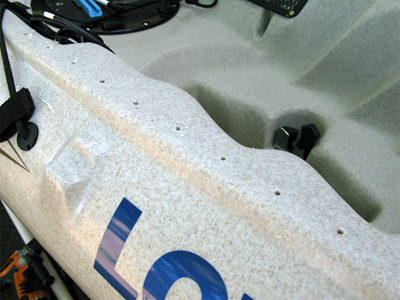
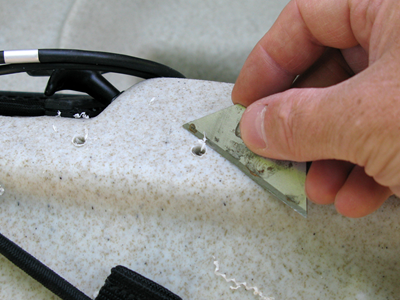
Next job is to clean up all the holes with a Stanley Knife Blade, this is held flat onto the gunwale and just pushed gently across the hole, applying only a light gently pressure to ensure it doesn't dig in.
Once all the holes are clean we squirted a little silicone adhesive sealant into each hole to ensure a sealed fitting, this is especially important as we had used a slightly larger drill bit which meant that the bolts pushed into place rather than screwed into place.
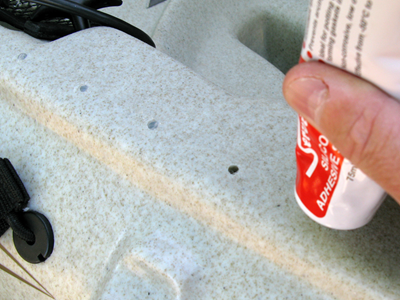
All holes sealed we held the YakAttack Full Back into position inside the hull.
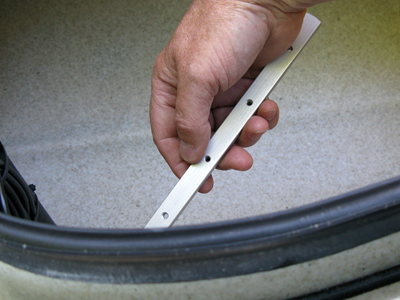
And aligned it with the first Allen Bolt on the GTSL90 Gear Trac, and carefully put a few turns on the Bolt to secure the Full Back in place.
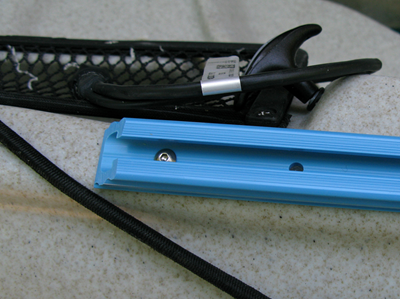
Then working from the same end we fitted each Allen Bolt in turn.
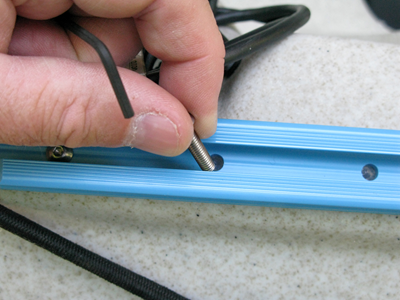
Once all the Allen Bolts were in place we held the Track in position and tightened all the bolts in turn, working from one end to the other, then starting at the opposite end again just pinching them all up with the Allen Key.
First Track complete. Now for the other side.
To get the track in the same position on both sides we firstly measured the distance from the Pad Eye on the bow to the front of the newly fitted GTSL90.
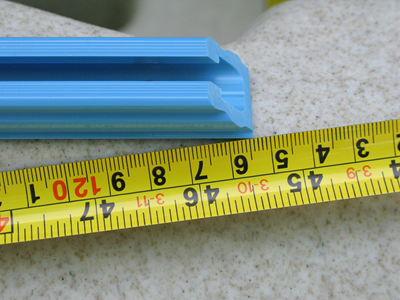
And transferred that measurement to the other gunwale.
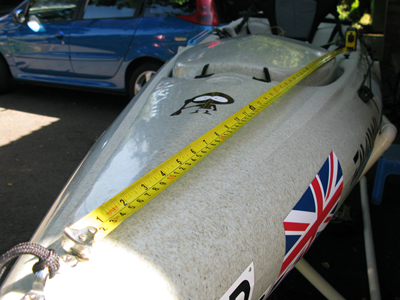
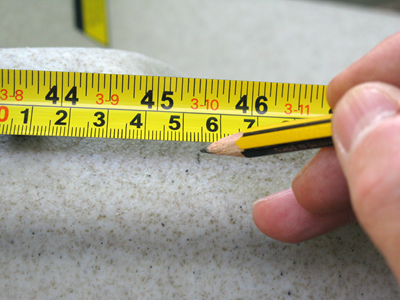
Once we had the measurement marked we fitted the rail in the same manner as previously described, we did however check for any obstructions inside the hull with our trusty Ronson Inspection Mirror before drilling.
Completed the rails will accept several different mounts. Those which we will be using on this project are the 1" and 1.5" YakAttack/RAM Gear Balls and the YakAttack T-Mounts.
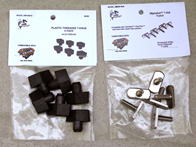
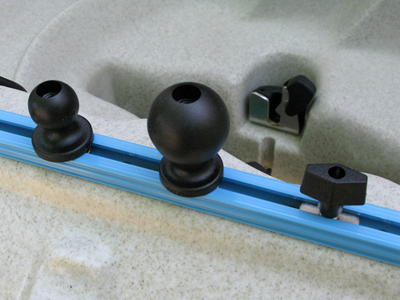
With these three fittings you can fit a multitude of accessories to the YakAttack GTSL90 and best of all, in the perfect position for you and your style of fishing.
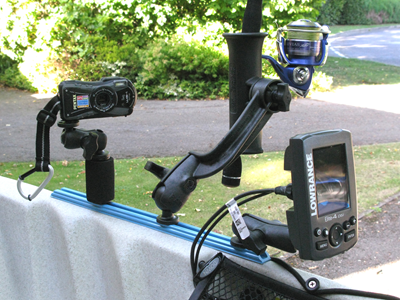
For more information on YakAttack products visit
yakattack.us
